 Home
Home Recipes
 Beans
Beans Gear
Gear Roasting
 Brewing
 FAQ
FAQ

Mastering Manual Brewing: Pour Over Tips and Techniques
Pour over coffee represents one of the most popular manual brewing methods, offering exceptional clarity and flavor control. The market features numerous pour over drippers made from plastic, glass, and ceramic, in various shapes and sizes from brands like Hario, Kalita, Bee House, and others. Hario V60, Kalita Wave, and Melitta drippers are among the most popular in specialty coffee shops across the United States.
The pour over method shares similarities with Chemex brewing but has distinct characteristics that produce a slightly different cup profile. The coffee is lighter-bodied yet still delivers substantial caffeine content, thanks to the dense paper filter with side seams. Like other manual brewing methods, pour over excels at highlighting floral, fruity, and berry-like aromas in quality coffee beans.
Coffee Freshness

PRO TIP:
Use only fresh coffee with a roast date within 30 days. Don’t be afraid to experiment with dosage, extraction time, and water temperature to find your perfect cup.
Use the freshest coffee possible for pour over brewing. Coffee should be between 1 and 30 days from the roast date for optimal results. You can certainly brew coffee older than this, but the differences between origins become less distinct. The cup will taste flat, muted, and sometimes develop earthy or stale notes that mask the coffee’s inherent qualities.
Fresh coffee contains volatile aromatic compounds that dissipate over time. Within the first month after roasting, these compounds are at their peak, offering the bright acidity, complex fruit notes, and origin characteristics that make specialty coffee worth seeking out.
Selecting Coffee Origins

PRO TIP:
If you’re new to manual brewing methods, start with more balanced coffees rather than highly complex, fruit-forward options. Try coffees from Costa Rica, Guatemala, or Colombia before exploring more adventurous options from Kenya, Rwanda, or Ethiopia.
For pour over brewing, choose coffees with vibrant acidity. The pour over method gently softens coffee acidity while allowing new flavor dimensions to emerge, creating a distinctly multi-layered cup. This brewing method particularly shines with light to medium roasts that showcase origin characteristics.
Light roasts from Ethiopia offer floral jasmine and blueberry notes, while Kenyan coffees deliver bright grapefruit and blackcurrant flavors (light roast arabica beans).
Medium roasts from Central America provide chocolate, caramel, and stone fruit balance. The pour over’s clean filtration highlights these nuances beautifully.
Water Quality
PRO TIP:
Not everyone can install a professional filtration system, so selecting the right bottled water is a practical alternative. Find several brands with the lowest possible mineral content, then brew comparison batches to determine which works best for your coffee.
Pour over coffee, like all brewing methods, consists of 99% water, making water quality crucial to the final result. Total dissolved solids (TDS) should range from 50-100 mg/L. Lower mineral content can work, but higher levels should be avoided as they negatively affect flavor and clarity. The optimal solution is a professional reverse osmosis filtration system.
Hard water with high mineral content creates flat, dull coffee, while overly soft or distilled water can produce sharp, thin-tasting brews. The minerals in water act as flavor carriers, so finding the right balance is essential. Many specialty coffee roasters provide water recipes or recommendations on their websites.
Storage After Opening
PRO TIP:
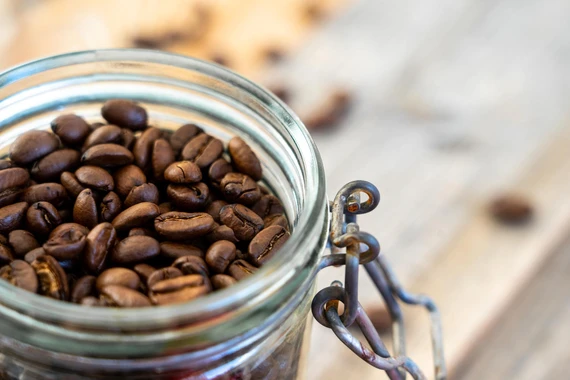
Purchase coffee in quantities you can consume within one to two weeks maximum. If you need to preserve coffee longer, freeze it in an airtight container—this maintains flavor for up to six months. Remember, you can only defrost it once, at room temperature over 12 hours.
Even fresh coffee degasses quickly after opening the bag. Ideally, coffee should be consumed within several days of opening, which happens naturally in busy coffee shops but proves challenging at home. Oxygen exposure accelerates staling, so minimize air contact by using airtight containers or vacuum-sealed storage.
Time After Grinding
PRO TIP:
Use whole bean coffee exclusively and grind it immediately—within minutes—before brewing.
To avoid rapid oxidation of ground coffee, grind immediately before brewing. The rich aroma of freshly ground coffee remains vibrant for approximately 5 minutes; unfortunately, beyond this point, the coffee begins changing its chemical composition. Pre-ground coffee has already lost much of what makes specialty coffee special.
When coffee is ground, the surface area exposed to oxygen increases exponentially, accelerating flavor degradation. This is why the difference between pre-ground and fresh-ground coffee is so dramatic, even more noticeable than the difference between week-old and month-old whole beans.
Grinder Quality and Grind Size
PRO TIP:
If you don’t have a professional grinder, invest in a quality manual burr grinder—they’re affordable and produce excellent results for pour over.
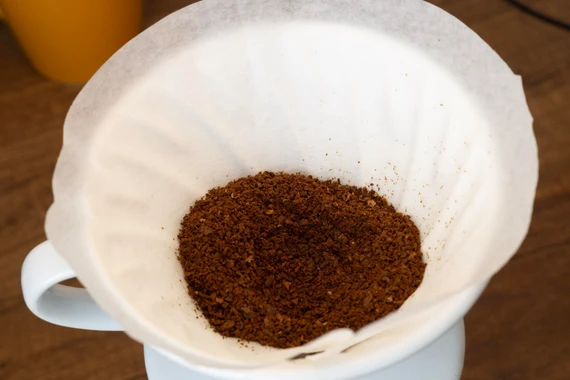
Grinder quality significantly impacts your final cup. Focus on clean, sharp burrs above all else. As a general guideline, replace flat burrs after approximately 900-1,100 lbs (400-500 kg) of coffee, and conical burrs after 1,100-1,800 lbs (500-800 kg).
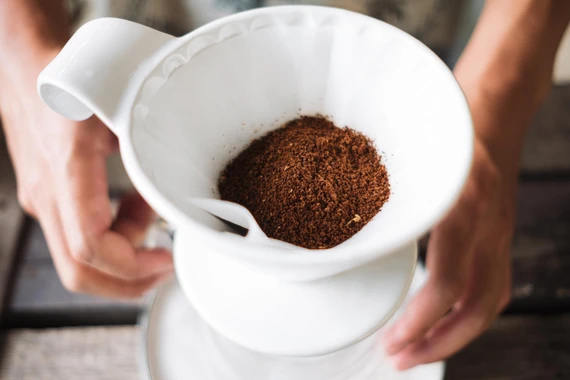
For pour over, use a medium grind—similar to sea salt or slightly finer than French press. The grind should be uniform with minimal fines (powder) or boulders (large chunks). Inconsistent grinding creates uneven extraction: fines over-extract (bitter), while boulders under-extract (sour).
Coffee Dosage
PRO TIP:
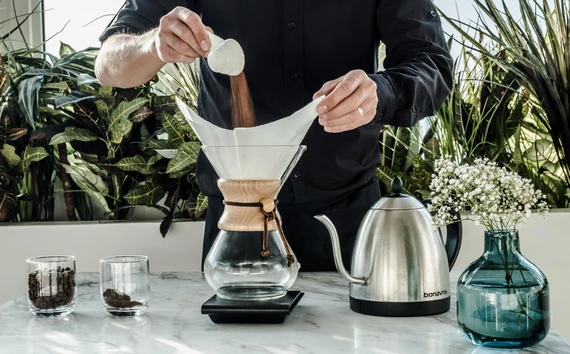
For consistent results, weigh your coffee every time using a digital scale accurate to 0.1 grams.
A standard starting ratio is 15 grams of coffee to 250 grams of water (1:16.7 ratio), yielding approximately 8-9 oz of finished coffee. This is an excellent baseline, though you should adjust based on preference. For stronger coffee, try 17-18 grams; for lighter, try 13-14 grams.
The coffee-to-water ratio dramatically affects strength and extraction. Unlike immersion methods, pour over allows you to control not just the ratio but also the flow rate, which adds another dimension to your brewing variables.
Preparing the Paper Filter

PRO TIP:
Create a small indentation in the center of the coffee bed after adding grounds—this helps control the initial bloom and promotes even extraction.
Before adding ground coffee, rinse the paper filter with approximately 3-4 oz (100ml) of hot water and discard it. This removes any paper taste and preheats your dripper and serving vessel. Don’t skip this step—unrinsed filters can impart noticeable papery flavors.
Add your measured coffee to the rinsed filter and gently shake or tap the dripper to create an even, level bed. Some brewers create a small well in the center to help with the bloom phase.
Water Temperature
PRO TIP:
Adjust temperature for each coffee origin. Even a 2-4°F difference can enhance sweetness, brightness, and complexity—or conversely, create bitter or sharp flavors.
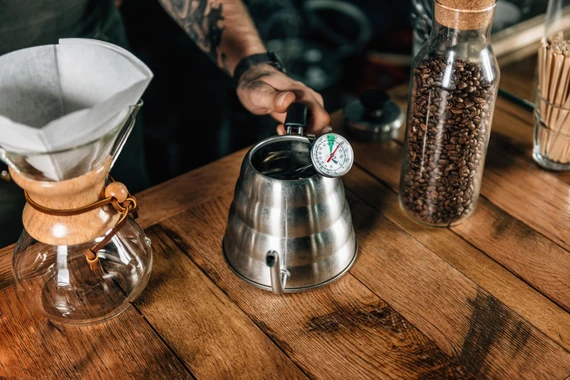
203°F (95°C) is optimal for most pour over brewing. Bring water to a full boil, then let it rest for about 30-45 seconds. Different roast levels benefit from different temperatures: light roasts often perform better at 205-208°F (96-98°C), while medium roasts shine at 200-203°F (93-95°C).
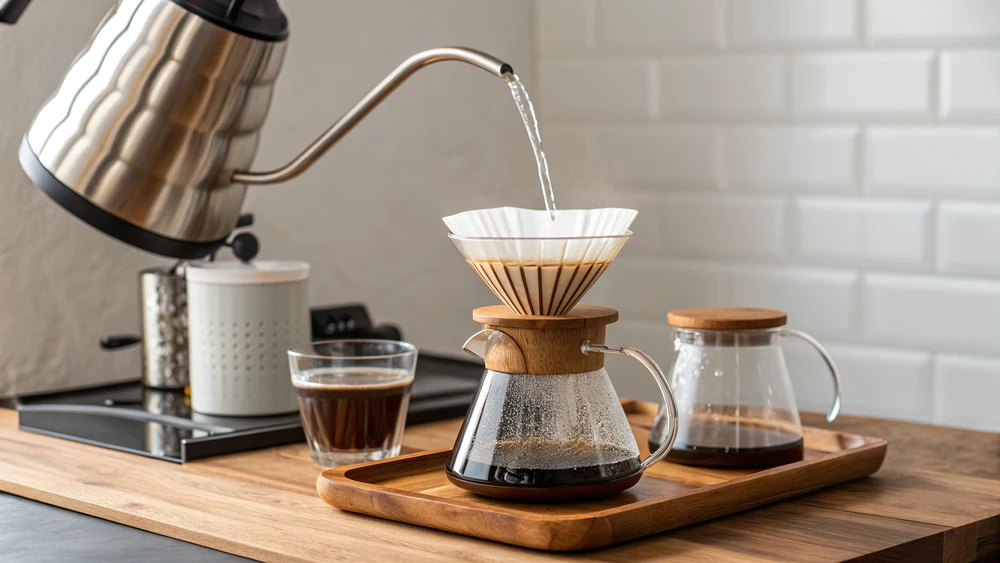
A gooseneck kettle with built-in temperature control eliminates guesswork and provides consistent results. If you don’t have one, a simple thermometer works well.
Brewing Time and Technique
PRO TIP:
Experiment with coffee-to-water ratios and brewing time to discover your ideal flavor profile.
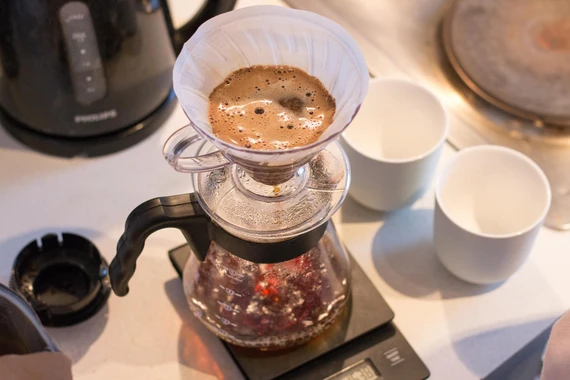
Total brew time should be approximately 3-4 minutes for most pour overs. Here’s the complete process:
The Bloom (0:00-0:45): Start your timer and pour 40-50 grams of water (roughly twice the coffee weight) gently over all the grounds, ensuring complete saturation. You’ll see the coffee “bloom” as CO2 releases. Wait 30-45 seconds for the bloom to settle.
Main Pour (0:45-2:30): Begin pouring in a slow, steady spiral starting from the center and moving outward in concentric circles. Pour to maintain a consistent water level about 1-1.5 inches above the coffee bed—don’t let it drop too low or rise too high. Pour in 3-4 pulses, allowing slight drawdown between pours.
Final Drawdown (2:30-3:30): After your final pour reaches 250 grams total water weight, let gravity do the work. The water should finish draining between 3:00-3:30.
Common Pour Over Mistakes

Pouring too aggressively disturbs the coffee bed and creates channels where water rushes through without extracting properly. Use a gentle, controlled pour.
Pouring on the filter walls wastes water that bypasses the coffee entirely. Keep your pour focused on the coffee bed.
Inconsistent pour rate creates uneven extraction. Practice maintaining steady flow throughout the brew.
Wrong grind size is the most common issue. If brew time is under 2:30, grind finer. If it’s over 4:00, grind coarser.
Finishing and Serving
Once brewing completes, discard the used filter and grounds. Give the brewed coffee a gentle swirl or stir to integrate any settling and aerate the cup slightly. Pour over coffee is best enjoyed immediately while hot, allowing you to experience the full spectrum of flavors as it cools from piping hot to warm.
Related Articles

Moka Pot: Pros and Cons
Not by coffee machines alone, so to speak. After all, they’re simply expensive. Even portafilter coffee makers aren’t as affordable…
Read moreDetails
How to Make Coffee in a Moka Pot
Mastering Stovetop Espresso: Tips and Techniques For lovers of full-bodied, strong coffee, the Moka pot is an ideal brewing method….
Read moreDetails
How to Make Perfect Iced Coffee at Home
Delicious coffee with both energizing and cooling effects—what could be better during warm weather? Though iced coffee is perfect for…
Read moreDetails