 Home
Home Recipes
 Beans
Beans Gear
Gear Roasting
 Brewing
 FAQ
FAQ
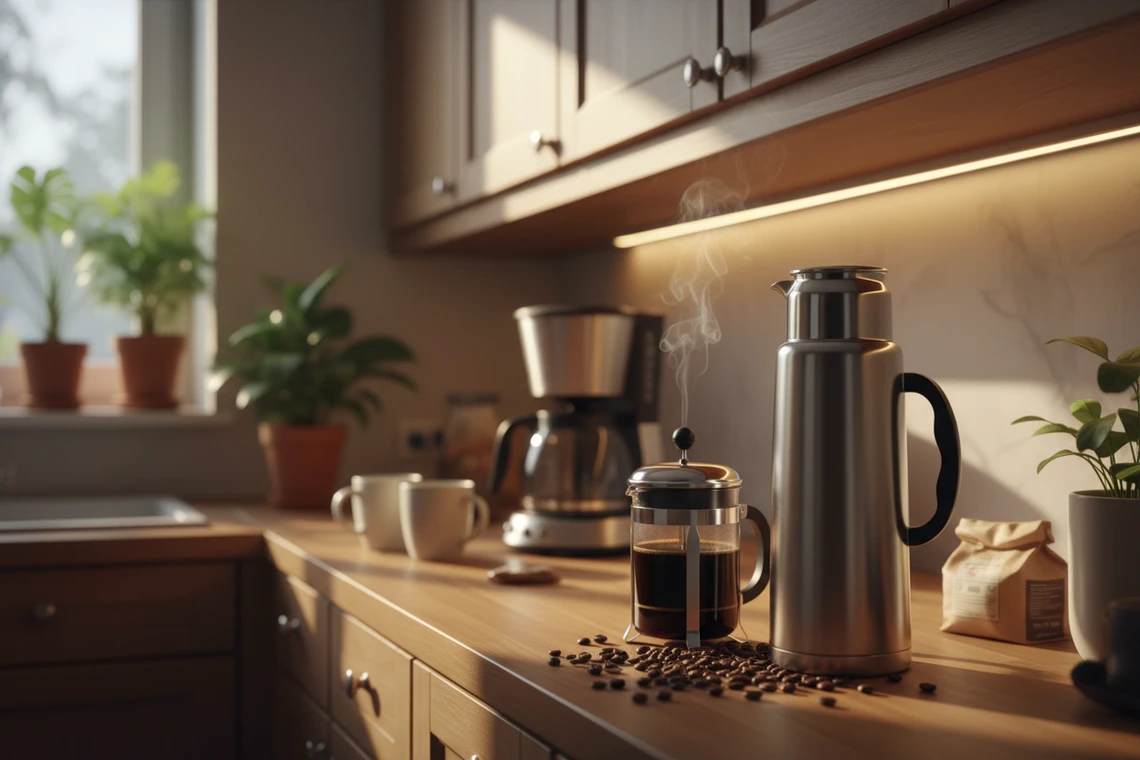
I get asked a lot if you can make good coffee with just a thermos. Many people, especially those who are always on the go, wonder if it’s true.
The answer is yes, can you brew coffee in a thermos and get great results. It’s a game-changer for anyone who needs a hot, tasty drink while moving around.
With a few easy steps, you can turn your basic gear into a reliable coffee maker. Consistency is key when you’re limited to what you have, and I’m here to help you get it right.
Follow these steps to keep your coffee hot and tasty all day long.
Key Takeaways
- Immersion is the primary method for successful extraction inside an insulated container.
- Preheating your vessel is essential to maintain optimal water temperature.
- Coarse grounds work best to prevent over-extraction and bitterness.
- Timing your steep accurately ensures a balanced flavor profile.
- Filtering the final product is necessary for a clean, grit-free experience.
The Reality of Brewing Coffee in a Thermos
Did you know your thermos can do more than just keep coffee warm? It’s not just for storing hot coffee. You can actually use it to brew coffee. So, if you’re wondering, can you brew coffee in a thermos, the answer is yes.
Using the thermos’s vacuum-insulated walls helps keep water at the perfect brewing temperature. This method, called immersion, involves steeping coffee grounds in hot water inside the thermos. It’s a surprisingly robust way to make coffee on the go.
This method is different from using a drip machine, but it can make coffee taste cleaner and more flavorful. The thermos’s seal keeps heat in during the brewing process. When thinking about can you brew coffee in a thermos, it’s good to compare it to other brewing methods.
| Method | Heat Retention | Brewing Style | Portability |
|---|---|---|---|
| Drip Machine | Low | Gravity | None |
| French Press | Medium | Immersion | Low |
| Thermos Brew | Excellent | Immersion | High |
This method needs patience and the right grind size to work well. It allows for deep, rich flavors that match those from other brewing methods. It’s a simple yet effective way to enjoy great coffee every day.
Pros and Cons of Thermos Coffee Brewing
Before you start brewing coffee in a thermos, think about the good and bad sides. Knowing these helps you enjoy a hot drink without losing quality during a busy day.
Advantages of the Vacuum Flask Method
The main plus is the incredible heat retention thanks to modern insulation. When you brew coffee in a vacuum flask, it stays hot for hours. This is great for long trips or outdoor fun.
The process is also simple. You don’t need many things, making it easy to clean up fast.
“The beauty of a well-insulated vessel lies in its ability to preserve the soul of the bean, keeping your morning ritual alive long after the sun has risen.”
Potential Drawbacks and Flavor Limitations
While it’s convenient, thermos coffee brewing has its own challenges. The biggest risk is over-extraction, which happens if grounds stay in hot water too long.
This can make your coffee taste bitter and harsh. You need to watch the time to keep the flavor right.
| Feature | Benefit | Risk |
|---|---|---|
| Heat Retention | Stays hot for hours | Can continue to cook grounds |
| Portability | Ideal for travel | Requires specific gear |
| Ease of Use | Minimal cleanup | Flavor profile limitations |
So, brewing coffee in a thermos is all about finding a balance. By getting the timing right, you can avoid the downsides and enjoy a great cup anytime, anywhere.
Essential Gear for Your Portable Coffee Setup
To get cafe-quality coffee on the go, you need the right gear and know your ingredients. Even the best thermos can’t save a bad brew if you skip the prep steps. Precision is your best friend when you’re not at home.
Selecting the Right Grind Size
The grind size is key for immersion brewing. I always say go for a coarse grind, like sea salt. This keeps your coffee clear of sediment.
Too fine a grind makes coffee muddy and over-extracted. Use a burr grinder at home for a smooth flavor. Consistency is the secret to a great cup.
| Grind Type | Texture | Best Use |
|---|---|---|
| Coarse | Sea Salt | Immersion/French Press |
| Medium | Sand | Drip Coffee |
| Fine | Table Salt | Espresso |
Water Temperature Considerations
Water temperature is as important as your beans. Don’t use boiling water to avoid scorching the grounds. Let it cool for 30 to 60 seconds to reach 195°F to 205°F.
“The quality of your coffee is only as good as the water you use and the care you take in the brewing process.”
In cold places, your thermos will lose heat. Pre-heat it with hot water to keep the coffee warm. Taking these small steps keeps your coffee hot and tasty for hours.
Step-by-Step Guide to Immersion Brewing in a Thermos
Learning to brew coffee in a thermos lets you enjoy great coffee anywhere. The immersion method makes sure all coffee grounds are fully soaked. This coffee thermos brewing guide will help you make perfect coffee for your next outdoor trip or morning commute.
Preparing the Thermos and Coffee Grounds
First, pre-heat your thermos. Pour boiling water in, wait a minute, and then pour it out. This keeps the metal warm for brewing.
Then, pick a coarse grind for your beans, like French press. A consistent grind size avoids bitter or muddy tastes in your coffee.
The Steeping Process
With your thermos ready, add coffee grounds to the bottom. Pour hot water, between 195°F and 205°F, over the grounds to start brewing.
Stir gently with a long spoon to cover all grounds. Seal the lid and let it steep for four to five minutes. This patience creates a deep, complex flavor unlike drip coffee.
Filtering and Serving Your Brew
After steeping, remove the grounds to stop brewing. If your vacuum flask lacks a filter, pour the coffee through a fine-mesh sieve or paper filter into a mug.
Or, use a clean cloth filter while camping. This method gives you smooth, grit-free coffee that showcases your favorite roast’s natural flavors.
| Step | Action | Key Tip |
|---|---|---|
| Preparation | Pre-heat flask | Use boiling water |
| Extraction | Steep 4-5 mins | Stir gently |
| Finishing | Filter grounds | Use fine mesh |
French Press Thermos: Best of Both Worlds
The French press thermos is perfect for those who love rich coffee on the go. It’s a mix of a coffee maker and a travel mug. It’s the gold standard for travelers who want great coffee without extra gear.
How Integrated Press Systems Work
These devices have a flask and a plunger in one. Just add coffee grounds and hot water. Then, press the plunger to separate the coffee from the grounds.
This integrated design keeps coffee hot for hours. It’s all in one unit, perfect for camping or long commutes. No need for extra filters or drippers.
Why This Method Produces Superior Flavor
The French press method makes coffee with a full-bodied flavor profile. The coffee grounds stay in contact with the water. This keeps the oils and fine particles in, making the coffee richer and more robust.
This design lets you control the brewing process. Adjust the steeping time to your liking. Here’s why it’s better than other portable options:
| Feature | French Press Thermos | Standard Travel Mug | Drip Coffee Maker |
|---|---|---|---|
| Flavor Profile | Rich and Bold | Variable | Clean and Light |
| Portability | High (All-in-one) | High (Requires brew) | Low (Stationary) |
| Ease of Use | Simple | Very Simple | Moderate |
| Heat Retention | Excellent | Excellent | Low |
Optimizing Your Coffee-to-Water Ratio for Flask Brewing
To improve your thermos coffee brewing, you need to know the right bean-to-water ratio. Getting a consistent taste in a flask depends on accurate measurements. Even a tiny change in the ratio can make a big difference in your coffee’s flavor.
Calculating Strength Preferences
Start with the classic 1:16 ratio, which is one gram of coffee for every sixteen grams of water. For a bold, concentrated taste, try a 1:14 ratio. This makes your coffee strong and perfect for a vacuum flask.
If you like a lighter, more delicate cup, go for a 1:18 ratio. Playing with these numbers lets you tailor your coffee to your taste. Remember, consistency is key when brewing on the go.
Adjusting for Thermos Capacity
It’s important to consider your flask’s size to avoid spills. Always leave about an inch of space at the top. This extra room helps you seal the lid without spilling.
When measuring your coffee, use the flask’s water capacity, not the label. Fill your flask with water and measure it in a cup. This method ensures your thermos coffee brewing is always just right.
| Flask Size (oz) | Coffee (grams) | Water (oz) | Strength Profile |
|---|---|---|---|
| 16 oz | 28g | 15 oz | Balanced |
| 24 oz | 45g | 23 oz | Bold |
| 32 oz | 55g | 31 oz | Light |
How Long Does Coffee Stay Hot in a Thermos?
I often get asked about the thermal limits of portable coffee containers. People want to know if their coffee will still be hot by the time they get to work or the trailhead. The truth is, vacuum insulation is very effective, but several things affect how long your drink stays hot.
Factors Affecting Heat Retention
The main technology behind your flask is the vacuum seal. It stops heat from transferring through conduction and convection. But, the initial temperature of the vessel is often overlooked. Pouring hot coffee into a cold container will cool it down fast.
Another key factor is the quality of the lid seal. Even the best vacuum-insulated bottle will lose heat if the cap isn’t tight or the gasket is worn. Air gaps let heat escape, so it’s important to check your equipment often.
Tips for Maximizing Thermal Performance
To keep your coffee hot for hours, pre-heat your flask. Fill it with boiling water and let it sit for a few minutes before adding your coffee. This keeps the interior walls hot, so they don’t cool your drink.
Filling your thermos to the top also helps a lot. A full container has less air space, which slows down heat loss through the lid. Following these tips will greatly improve your coffee’s temperature and flavor all day.
| Preparation Method | Heat Retention (4 Hours) | Flavor Quality |
|---|---|---|
| Cold Flask | Moderate | Good |
| Pre-heated Flask | Excellent | Excellent |
| Half-Full Flask | Poor | Average |
| Full Flask | Superior | Superior |
By making a few simple changes, you can keep your coffee at the perfect temperature for hours. Learning these thermos coffee making tips will make your portable brewing experience much better.
Best Thermoses for Coffee Brewing
I’ve tried many thermoses to find the best thermos for brewing coffee on the go. The right thermos is key because it brews and keeps your coffee warm. A good thermos keeps your coffee hot and brews it perfectly.
“Good coffee is a pleasure, but great coffee is an experience that should be accessible anywhere.”
Stanley Classic Legendary Bottle
Overview
The Stanley Classic is a rugged icon in outdoor gear. Its double-wall vacuum keeps drinks hot for hours. It’s perfect for those who need something tough.
Pros and Cons
- Pros: Extremely durable and keeps heat well.
- Cons: It’s heavy and bulky for easy packing.
Zojirushi Stainless Steel Mug
Overview
The Zojirushi is great for commuters who want style and ease. It’s light and has a vacuum-sealed lid to prevent spills.
Pros and Cons
- Pros: Keeps drinks hot and is slim.
- Cons: The lid needs careful cleaning to avoid buildup.
Bodum Travel French Press
Overview
The Bodum Travel French Press is a all-in-one solution for coffee lovers. It brews and serves from the same container, making mornings easier.
Pros and Cons
- Pros: Integrated plunger for full-bodied coffee.
- Cons: Cleaning the filter can be a challenge.
Choosing the right thermos depends on your lifestyle. Whether you need a tough Stanley or a convenient Bodum, quality gear makes your coffee better.
Common Mistakes to Avoid When Brewing on the Go
Even small mistakes can ruin a great cup of coffee when you’re away from home. It’s easy to miss the details that make coffee special. Here are some tips for brewing coffee in a thermos to help you avoid these mistakes and enjoy a great cup every time.
Over-extraction and Bitterness
One common mistake is leaving coffee grounds in water for too long. This can make the coffee over-extracted and bitter. It’s important to filter or remove the grounds quickly.
“The secret to a perfect cup is timing; once the optimal extraction point is reached, the grounds must be separated from the liquid immediately.”
To avoid this, use a timer or a mental check to keep brewing time short. If you have a standard flask, follow these steps:
- Always use a coarse grind to slow down the extraction rate.
- Set a strict timer for your steeping process.
- Decant the coffee into a separate vessel if your flask does not have a built-in filter.
Temperature Loss During Preparation
Another issue is losing heat quickly when brewing. If your thermos is cold, it will cool down your coffee fast. These thermos coffee making tips help keep your coffee hot.
Preheat your container by filling it with boiling water for a few minutes before brewing. This keeps your coffee at the perfect temperature longer. Consistency is key for great coffee on the go.
Cleaning and Maintenance for Flavor Integrity
To make your thermos coffee preparation better, cleaning is key. Coffee oils can build up and make your coffee taste bad. Keeping your flask clean ensures every cup tastes great.
Removing Coffee Oils and Residue
For tough residue, mix warm water with baking soda. Fill your flask, add a tablespoon of baking soda, and wait thirty minutes. Then, use a soft brush to clean without harming your flask.
“Cleanliness is the hallmark of a true coffee lover, as even the smallest amount of old residue can compromise the profile of a fresh roast.”
For a deeper clean, try white vinegar and water. Rinse well after to avoid taste. Taking care of your thermos coffee preparation gear keeps it working well for years.
Preventing Staining and Odor Buildup
Stopping odors is as crucial as removing oils. Always empty your flask after coffee to prevent residue. Letting it air dry helps avoid mold and bad smells.
For stains, a special bottle brush is helpful. Clean the bottom and lid threads to remove hidden buildup. These steps keep your thermos coffee preparation in top shape for a fresh brew every time.
Mastering the Art of Portable Coffee Preparation
Great coffee should follow you wherever you go. Learning to make coffee on the go means you’ll never settle for bad coffee. It’s all about the journey.
Try these tips for brewing coffee in a thermos on your next outdoor trip. You’ll see how small changes can make a big difference in taste and temperature.
Choosing the right thermos is key. Look for brands like Stanley or Zojirushi. They keep your coffee at the perfect temperature.
Keep this guide close as you get better at making coffee in a thermos. With practice, it becomes a reliable part of your day, whether you’re commuting or hiking.
Share your best coffee stories with others. I’m excited to hear about the amazing coffee you make on your travels.